Welcome, club! Work through these in order — each session builds on the last. You can tick off the steps inside each lesson as you go, and your progress is saved right on your own device. Ready? Start with Session 1.
-
Session 1
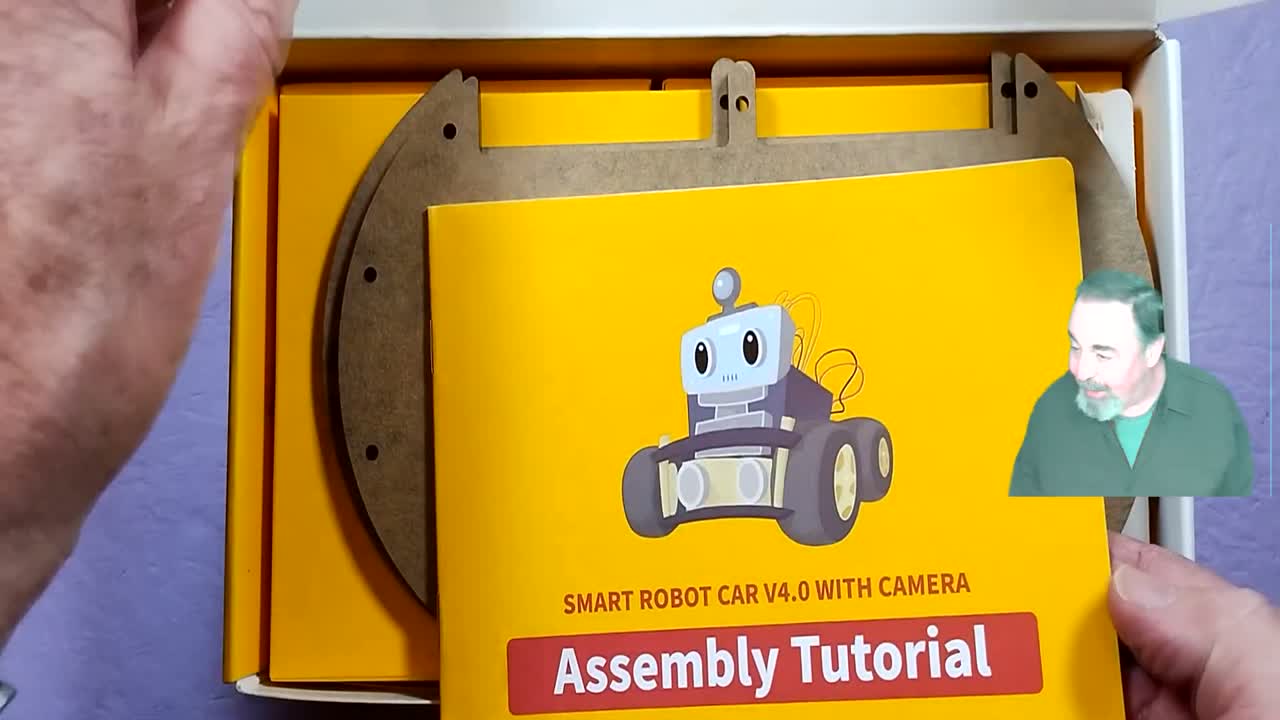
Meet Your Robot Car
Open the box, get to know every part, charge your car up, switch it on for the first time, and drive it around the room.
45 min Total beginner Ages 8+Start the session -
Session 2
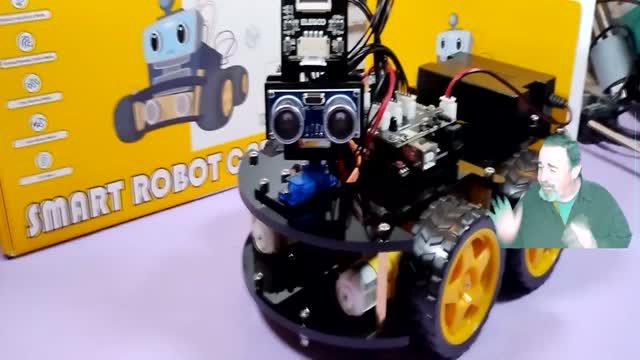
Build Your Robot Car
Turn a box of parts into a real, rolling robot car you built with your own hands.
90 min Beginner Ages 8+Start the session -
Session 3

Take Control: Remote & App
Drive your car with the handheld remote, then from a phone or tablet — and even peek through the car's own camera.
30 min Beginner Ages 8+Start the session -
Session 4
Make Your Car Dodge Obstacles
Give your robot car "eyes" so it drives forward on its own and turns away the moment something gets in its path.
45 min Beginner Ages 11+Start the session -
Session 5
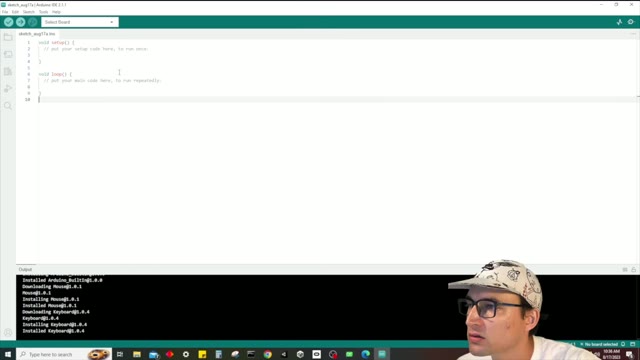
Your First Code
Put a program onto your robot all by yourself — then change one tiny thing and watch the car behave differently.
60 min Intermediate Ages 10+Start the session